Tractor Embroidery Design
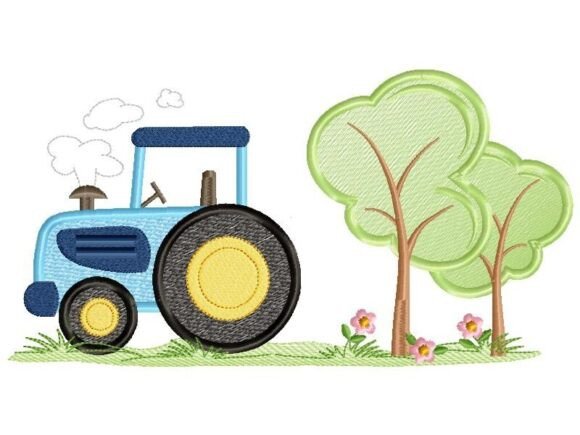
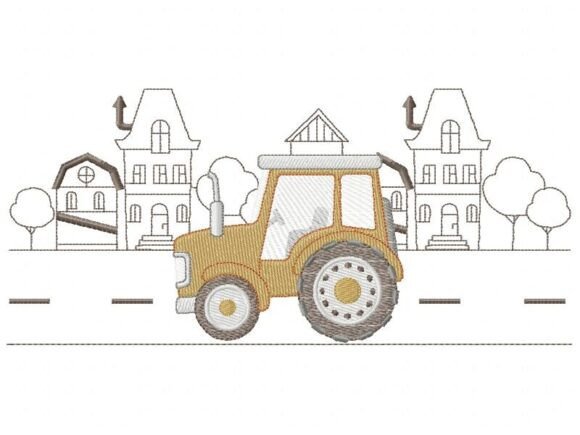
There’s a quiet magic in stitching something that makes a child’s eyes light up—not because it’s flashy or expensive, but because it feels personal, playful, and full of intention. The Tractor embroidery design is exactly that kind of detail: a small, cheerful motif that carries warmth, nostalgia, and tactile charm. It’s not just decoration—it’s a thoughtful punctuation mark in the rhythm of garment creation, custom gifting, or small-batch production.
What Tractor Is—and Where It Fits in Your Workflow
The Tractor design is a digitized embroidery file—carefully crafted, precisely scaled, and optimized for machine execution. Unlike hand-drawn sketches or generic clip art, it’s engineered to translate cleanly from digital file to fabric: consistent stitch density, balanced underlay, and smooth satin edges that hold shape after washing and wear. That means its role isn’t limited to “final embellishment.” It integrates earlier in your process than you might assume.
For example, if you’re designing a line of organic cotton overalls for toddlers, the Tractor motif may influence fabric choice (tight-weave cotton twill holds fine details better than slubbed linen), seam placement (you’ll avoid topstitching directly over the embroidery zone), and even packaging (a stitched tractor on the tag reinforces brand consistency). In that sense, Tractor isn’t just applied—it’s planned for.
Using Tractor Before the Needle Moves
Pre-stitch preparation is where quality control begins—and where Tractor shines as a reliability anchor. Before loading the file, verify compatibility: check your machine’s supported formats (PES, DST, JEF, EXP, VP3) and confirm the design falls within your hoop size limits. Most versions of Tractor are offered in multiple sizes—typically 3”, 4”, and 5”—but these aren’t arbitrary. A 3” version works cleanly on a onesie pocket; a 5” version anchors nicely on a backpack flap. Resizing beyond those presets risks thread breaks, skipped stitches, or distorted proportions—so treat the provided dimensions as tested benchmarks, not starting points.
If you’re batch-producing items—say, 20 matching sun hats for a preschool graduation—import the Tractor file into your embroidery software first. Use the preview function to inspect jump stitches and trim points. Adjust auto-trim settings if your machine supports them; fewer trims mean less thread waste and smoother transitions between garments. This step takes two minutes—and saves 45 minutes of re-hooping later.
During Execution: Consistency Without Compromise
When stitching begins, Tractor behaves predictably—because it was built with real-world variables in mind. Its underlay stabilizes lightweight knits; its satin column width avoids puckering on stretchy jersey; and its fill direction minimizes visible grain distortion on directional fabrics like corduroy or seersucker. That predictability translates directly to workflow efficiency: fewer test runs, less rework, and more confidence when scaling from prototype to production.
Here’s a practical note: always stabilize before hooping. A tear-away + cut-away combo works best for children’s garments—soft enough for sensitive skin, strong enough to prevent shifting. And if you’re layering Tractor with text (e.g., “My First Tractor” beneath the design), align both elements digitally first. Misaligned layers often look intentional until you hold the finished piece at arm’s length—and then the disconnect becomes obvious.
After Stitching: Long-Term Usability and Care
A well-executed Tractor design doesn’t just look good on launch day—it holds up. That durability starts with file integrity: the original Tractor files include optimized stop points for multi-color runs (no guessing where to change thread), clear color sequence labels, and minimal jump stitches between sections. These aren’t cosmetic touches—they’re usability features that reduce operator fatigue during long sessions.
Over time, organization matters just as much as execution. Name your files descriptively: Tractor_4in_PES_v2, not tractor_final_v3. Store them in a dedicated “Kids-Embroidery/Tractors” folder alongside related assets—like matching SVGs for iron-on transfers or PDF templates for fabric placement guides. When you revisit the project six months later—or hand it off to an assistant—you’ll save 10+ minutes per session just by avoiding file hunts.
How Tractor Interacts With Your Broader Toolkit
Tractor doesn’t live in isolation. It connects meaningfully to other parts of your creative or operational stack:
- Design software: Import the vector version (if available) into Adobe Illustrator or Affinity Designer to create coordinating print layouts, labels, or packaging graphics—keeping visual language cohesive.
- E-commerce platforms: Use high-res stitched photos of Tractor on actual garments—not mockups—to improve conversion. Shoppers scanning for “machine-embroidered kids’ clothes” respond to authenticity, not polish.
- Inventory systems: Tag Tractor-adorned SKUs with attributes like “embroidery-ready,” “hoop-size-5in,” or “stabilizer-type-cutaway.” That data surfaces in reports when you’re evaluating which designs drive repeat orders.
- Client communication: Share the Tractor spec sheet (stitch count, dimensions, recommended fabric types) early in custom order conversations. It sets realistic expectations—and reduces revision requests.
Practical Integration Tips for Different Roles
Hobbyists benefit most from Tractor’s plug-and-play simplicity—but don’t skip the prep. Even one test stitch on scrap fabric reveals how your specific thread brand interacts with the design’s density. Keep a notebook: “Aurifil 50wt + Tractor_4in = clean satin, no bobbin shadow.” That’s actionable insight, not clutter.
Small business owners should treat Tractor as a modular brand asset. Use it consistently across product categories—on bibs, tote bags, and quilt squares—to build recognition. Then track which placements generate the most social shares or unboxing videos. That’s organic feedback you can’t buy.
Educators and makerspace coordinators find Tractor especially useful for teaching sequencing: “First hoop, then load, then stabilize, then start.” Its clear visual structure helps learners grasp embroidery logic without overwhelming them with technical jargon.
Quality Control, Not Just Aesthetics
“Charming” only lasts as long as the stitching stays intact. So build quick QC checks into your routine: after every 5 garments, hold the embroidered area taut and check for loose threads or inconsistent tension. If you spot variance, pause—not to panic, but to audit one variable at a time: thread type, needle age, stabilizer batch, or even ambient humidity (high moisture can affect thread glide).
Also consider long-term storage. Keep Tractor files backed up in two places—one local, one cloud-based—and verify backups quarterly. Digitized designs are low-risk to lose, but high-impact when gone. A single corrupted file shouldn’t halt production.
Making Tractor Work for Your Real Schedule
You don’t need hours to integrate Tractor meaningfully. Try this 15-minute integration:
- Download the Tractor file set (3”, 4”, 5”) and rename them clearly (2 min)
- Stitch one size on scrap fabric using your go-to thread/stabilizer combo (6 min)
- Photograph the result in natural light and add it to a “Stitch Reference” doc (3 min)
- Note one thing that worked well—and one tweak for next time (2 min)
- Save the doc where you plan future embroidery projects (2 min)
That’s not “getting started.” That’s building a repeatable, reliable micro-process—one you’ll draw from again and again, whether you’re stitching five bibs for a baby shower or fifty hoodies for a farm-themed summer camp.
In the end, Tractor isn’t about adding another element to your list. It’s about choosing a detail that pulls together intention, craft, and care—then letting it do quiet, consistent work across everything you make.